

Become a skate. insider for your chance to play and shape the future of the game.


Latest News
We’re Reading Your Comments!
skate. Day 2023
The Board Room: Episode 04
Year One of Community Playtesting Update - Electronic Arts
The Board Room: Episode 03
The Board Room: Episode 02
The Board Room: Episode 1 Recap
The Board Room: Episode 1
an update from the team.

We're still working on it! The skate. newsletter is the best way to stay up to date on all the latest skate. news, behind-the-scenes content, updates and more (including other EA news, products, events, and promotions) by email.
You must sign in and sign up for skate. and EA emails before you can redeem any reward.
You must sign up for the skate. newsletter before you can redeem your item.
You've successfully signed up to receive emails about skate. and other EA news, products, events and promotions. Unsubscribe at any time by changing your email preferences.
You’ve already signed up for skate. newsletters with the above email. Please check your spam folder for the above email. If you still have troubles receiving the emails, please contact EA.
Sorry, you are ineligible to sign up for this newsletter.
Sorry, something has gone wrong. Please try again later.

Latest Videos
Still Working On It
The Board Room: Episode 4
The Board Room: Episode 3
The Board Room: Episode 2
The Board Room: Episode 1
We're Working On It

about skate.
This is not a sequel. This is skate. refreshed with a forever vision in mind. Reimagined with the skate. community - you - guiding us through development. We’re listening to you. Join us on this journey and help shape the future of skate.
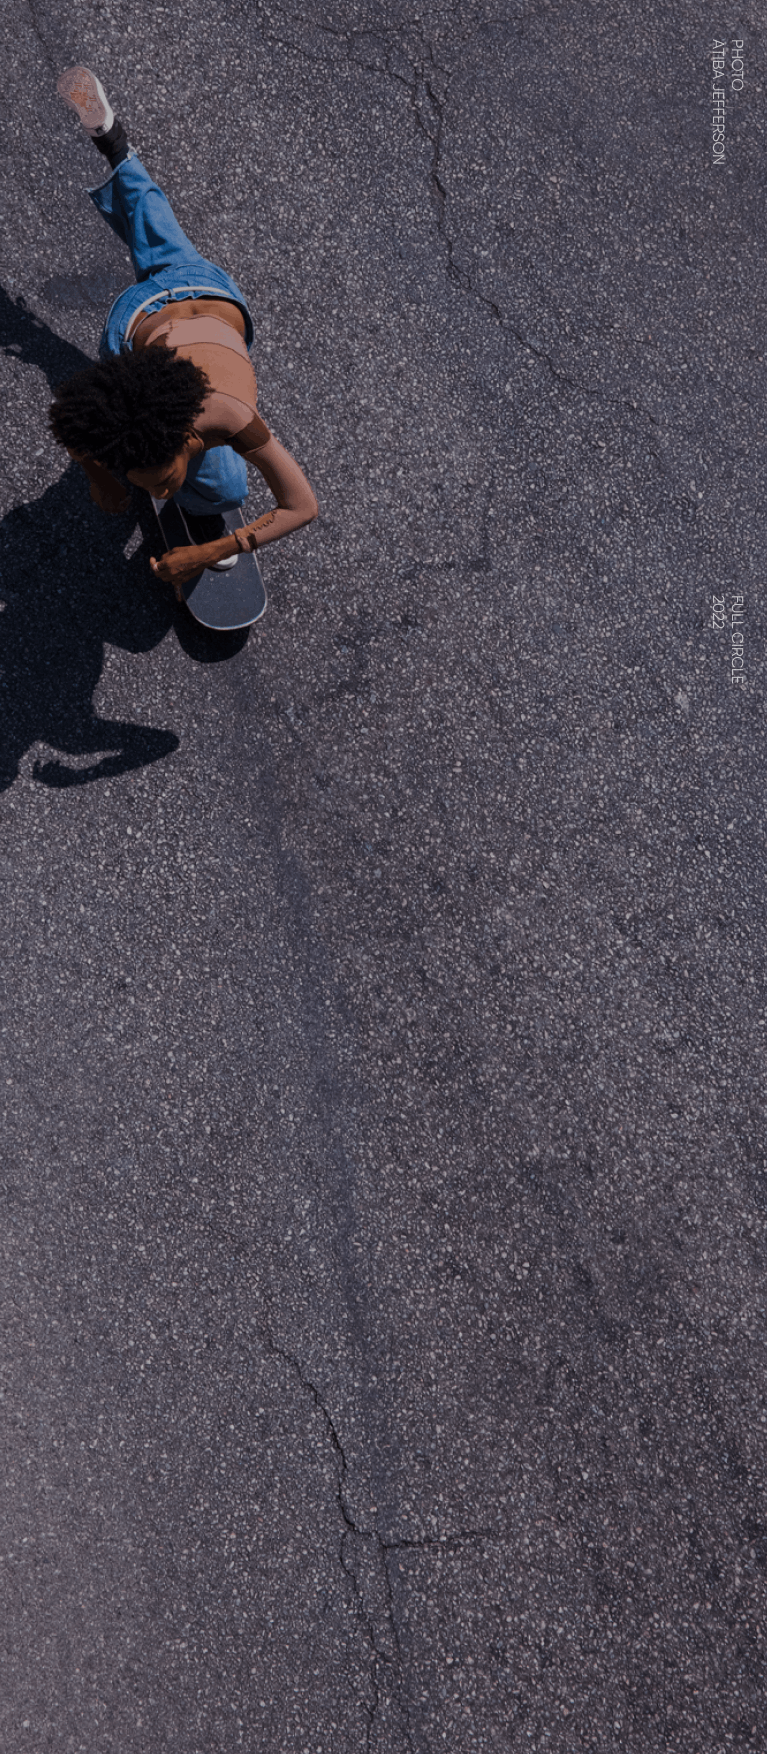
For more on the studio team behind skate. check out Full Circle, including its career page featuring recent job listings. Follow along on Twitter, Instagram and Discord for the latest news.
Join The Community
The official skate. Discord server